Importance of correct resistance setting
Understanding the types of resistance available, their benefits and how to adjust them is essential. Whether you're looking for an intense workout or gentle cardio, this article will guide you step by step. Don't know where to start when adjusting the resistance of your exercise bike? You are in the right place. Read on for practical and effective tips.
Understand the importance of fine tuning resistance
Avant utilisation d’un vélo d’appartement, setting the resistance correctly is crucial. This setting not only influences the effectiveness of your training, but also your safety and comfort. It varies depending on the type of exercise bike used. A well-adjusted resistance allows you to work your muscles optimally, burn more calories and improve your endurance. In other words, it helps you achieve your fitness goals faster and more efficiently.
Consequences of incorrect adjustment
Improper resistance adjustment can cause several problems. If the resistance is too low, you risk not succeeding in your exercise and not challenger your muscles enough, which will make your session ineffective. Conversely, too high a resistance can cause muscle and joint pain, or even injury. In addition, poorly calibrated resistance can affect your posture and increase the risk of strain in the back and knees.
Tips for optimal adjustment
To obtain a optimal setting resistance, follow these tips:
- Start gradually : Increase the resistance in small increments to find the level that suits you.
- Listen to your body : If you feel pain or discomfort, adjust the resistance immediately.
- Vary the intensities : Integrate stronger and weaker resistance phases to maximize the benefits of your session.
- Use benchmarks : Note the resistance levels used for each type of workout to track your progress and adapt your sessions.
By following these tips, you will be able to get the most out of your exercise bike, avoiding common mistakes and optimizing each training session.
Resistances on exercise bikes
Magnetic resistance
There magnetic resistance is an advanced technology that uses magnets to create resistance against the movement of the flywheel.
How it works and benefits : The magnets are placed near the flywheel. By adjusting their position, we modify the magnetic field, which increases or decreases the resistance. This type of resistance is silent, sustainable and requires little maintenance. Unlike mechanical resistance, there is no direct contact, which reduces wear of the parts.
How to adjust magnetic resistance : To adjust the magnetic resistance, use the control wheel or button located on your bike. Turn it clockwise to increase the resistance and counterclockwise to decrease it. The transition is fluid and allows precise adjustment.
Examples of bicycles equipped with this mechanism : Bikes from brands like Schwinn, NordicTrack, And ProForm often use this type of resistance. They are popular for their comfort and their reliability.
Mechanical resistance
There mechanical resistance uses brake pads to create friction against the flywheel. This is a more traditional method, often found on entry-level bikes.
How mechanical resistance works : As you turn the dial, the brake shoes move toward or away from the flywheel, increasing or decreasing friction. This type of resistance is simple to understand and use.
Comparison with magnetic resistance : Mechanical resistance is often cheaper, but it is also noisier and requires more maintenance. Brake shoes wear out over time and need to be replaced periodically.
Benefits
- Lower cost : Often cheaper to buy.
- Simplicity : Easy to understand and adjust.
Disadvantages
- Noise : Noisier due to friction.
- Interview : Requires regular brake shoe replacements.
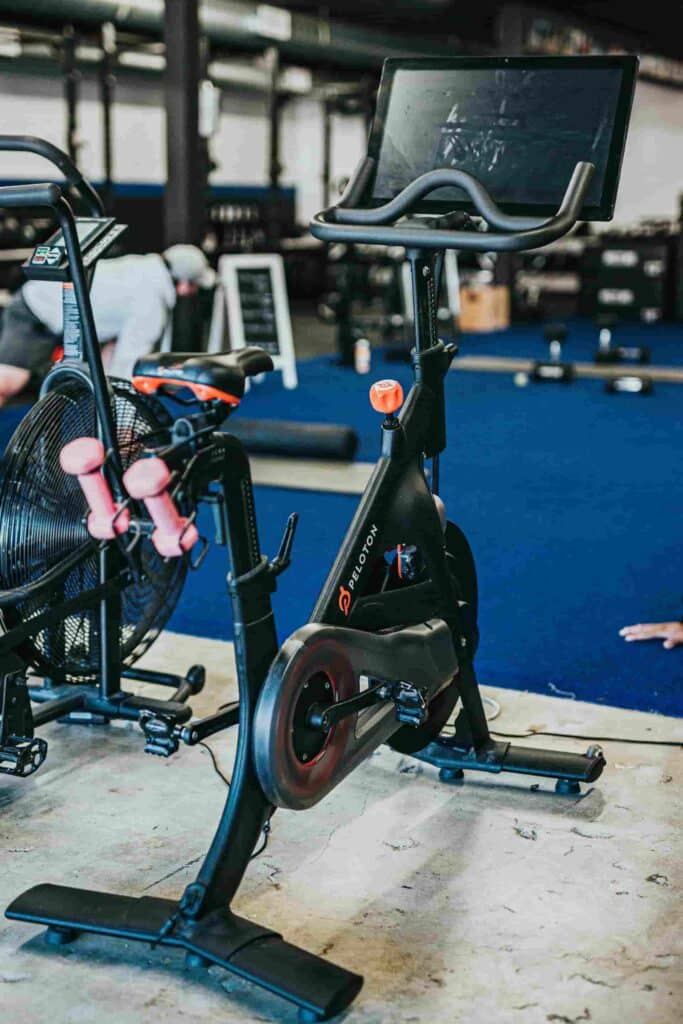
Electromagnetic resistance
There electromagnetic resistance uses electromagnetic fields to control resistance with pinpoint precision.
Explanation of the mechanism : Electromagnetic coils are placed near the flywheel. By adjusting the electric current, we modify the electromagnetic field, which changes the resistance. This system is controlled electronically, often via a screen or connected app.
Challenge level and precise adjustment : The electromagnetic resistance allows very precise adjustments and offers a personalized training experience. You can program specific sessions with automatic resistance variations, ideal for structured workouts like HIIT or active recovery sessions.
Choosing the type of resistance suited to your needs is essential to optimize your exercise bike sessions. That you favor the silence and the sustainability of the magnetic resistance, the simplicity mechanical resistance, or precision of electromagnetic resistance, there is a solution for every cyclist.

Steps to adjust the resistance
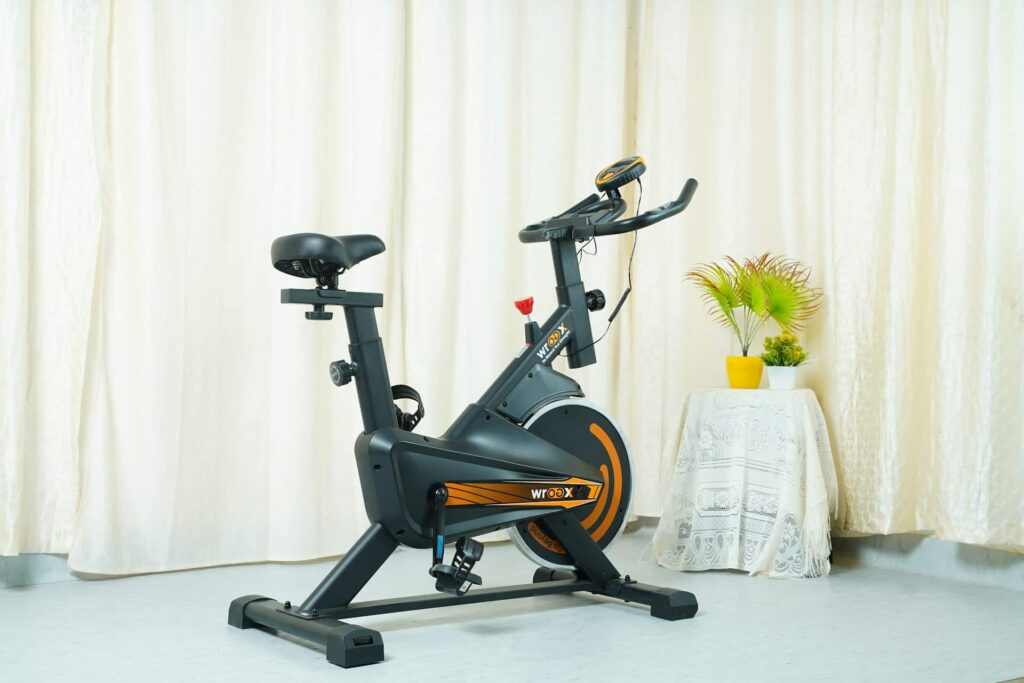
Bike check
Before you start adjusting the resistance of a device like the training bike, it is crucial to check certain elements to ensure optimal operation.
Identify the adjustment wheel or button : The first step is to locate the resistance adjustment dial or button. On most bikes, this dial is located at the front, just under the handlebars, or on the side of the frame. Take a moment to familiarize yourself with where it is located and how it works.
Increase or decrease the resistance by turning the dial : Once you locate the dial, turn it clockwise to increase the resistance. This action brings the brake pads (for mechanical resistance bicycles) or magnets (for magnetic and electromagnetic resistance bicycles) closer to the flywheel, thereby increasing resistance. Conversely, turn the dial counterclockwise to decrease resistance and make pedaling easier.
Practical advice : For optimal adjustment, follow these few practical tips:
- Wait a few seconds after adjusting the resistance : After changing the resistance, wait a few seconds for the change to take effect. This allows the system to adjust properly and provide you with stable resistance.
- Observe the level change : Pay attention to the pedaling sensations. A change in resistance should be immediately felt in the effort required to pedal. If you do not feel a noticeable difference, check that the dial is functional and that the resistance mechanism is clean and in good condition.
Steps for fine tuning :
- Start pedaling at a comfortable cadence.
- Gradually adjust the dial : Turn it in small increments to fine-tune your setting.
- Test different intensities : Alternate between low, medium and high resistance levels to find what works best for your session.
- Take note of the settings : Keep track of resistance levels for each type of workout. This will help you track your progress and adjust your future sessions based on your goals.
By following these simple and effective steps, you will be able to adjust the resistance of your exercise bike with precision, ensuring productive and safe workouts.
Adjustment according to the objective
Intense training
For a intense workout, it is essential to adjust the resistance in order to maximize your efforts and your muscle gains. Here's how to do it:
Increase resistance for maximum effort : When your goal is to perform an intense workout with a HIIT spinning program (High-Intensity Interval Training), you need to increase the resistance to create a significant challenge for your muscles. High resistance makes pedaling more difficult, further stimulating your leg muscles and improving your cardiovascular capacity.
Example: HIIT sessions : For a HIIT session, alternate between periods of high resistance and periods of low resistance. For example, pedal at high resistance for 30 seconds, then reduce the resistance for active recovery from 30 seconds to 1 minute. Repeat this cycle several times. This method helps maximize calorie burning and increase endurance.
Practical advice :
- Warm up : Start with low resistance to prepare your muscles.
- Follow a steady pace : Keep a high pedaling rhythm even with high resistance.
- Hydrate yourself : Make sure you drink enough water before, during and after training.
Gentle cardio
For a gentle cardio, the goal is to maintain a moderate heart rate while improving endurance without overloading the muscles.
Reduce resistance for smoother pedaling : Reduce resistance to allow smoother and easier pedaling. This helps keep a cardio session at a comfortable pace, ideal for recovery or active rest days.
Example: recovery sessions : During a cool-down session, cycle with low resistance for 20 to 30 minutes. Focus on a steady pace and steady cadence. The goal is to stay active without putting undue stress on the muscles.
Practical advice :
- Maintain good posture : Make sure your back is straight and your shoulders relaxed.
- Listen to relaxing music : Choose songs that help you stay relaxed and focused.
- Breathe deeply : Take deep, regular breathing to optimize muscle oxygenation.
By adapting the resistance of your exercise bike to suit your specific goals, whether for an intense workout or gentle cardio, you maximize the benefits of each session. Be sure to always listen to your body and adjust resistance accordingly to avoid injury and promote continued progress.
Maintenance and durability
Maintenance of magnetic resistance bicycles
Regular maintenance of your magnetic resistance exercise bike is crucial to guarantee its performance and extend its lifespan.
Benefits of sustainability : Magnetic resistance bikes are known for their sustainability. Thanks to the absence of direct contact between the magnets and the flywheel, parts wear less quickly, reducing the need for frequent maintenance. This means less expense and less time spent on maintenance.
Comparison with friction resistance bikes : Friction resistance bikes require regular brake pad replacements due to wear caused by direct contact with the flywheel. In contrast, magnetic resistance bikes do not have this problem, making them a more economical choice in the long run.
Brake shoe replacement : Although magnetic resistance bikes require less maintenance, it is still important to check key components regularly. For friction-resistance bikes, be sure to replace the brake pads when they show signs of wear to maintain optimal performance.
Longevity of magnetic resistance bicycles
Magnetic resistance bikes are built to last, but a few maintenance practices can help maximize their longevity.
Less maintenance : Thanks to their frictionless design, these bikes require less maintenance compared to mechanical models. However, it is recommended to clean the magnets and flywheel regularly to prevent the accumulation of dust and debris.
Extended life : To extend the life of your bike, follow these tips:
- Clean regularly : Use a soft cloth to wipe exposed surfaces, especially around the magnets and flywheel.
- Lubricate moving parts : Although magnetic resistance bikes have few parts requiring lubrication, make sure the pedals and other moving components remain in good working order.
- Check the fixings : Make sure all screws and bolts are tight to avoid rattling and other annoying noises.
- Protect from humidity : Avoid exposing your bike to humid environments which could lead to rust on metal components.
By following these maintenance tips, you can maximize the durability and performance of your magnetic resistance exercise bike. Investing time in regular maintenance ensures that your equipment will remain in excellent condition for many years, providing you with effective and worry-free workouts.
Conclusion
Adjusting the resistance of your exercise bike is essential for an effective workout. A good fit improves your performance and prevents injuries. Follow our advice to find the ideal resistance.
Understanding the different types of resistance helps you choose the bike that's right for you. Each type has its advantages and disadvantages. Adapt the resistance according to your objectives to optimize your sessions.
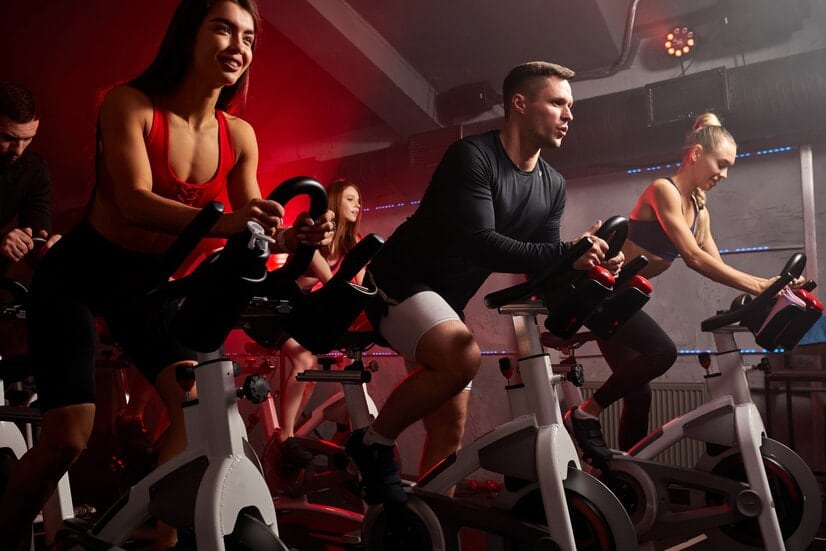
Pedal with Space
Discover SPACE for an immersive 45-minute session in a subdued atmosphere, enhanced by captivating light effects. Immerse yourself in dynamic playlists and motivating choreographies.
Three course formats are available to push your limits: Basic Ride, Rhythm Ride, And Power Ride. Each class targets specific muscle groups like arms, legs, and abs, while improving your cardiovascular endurance and strength.
Details of our sessions :
- Rhythm Ride : 80% for cardio and 20% for muscle strengthening.
- Power Ride : A perfect balance with 50% cardio and 50% strength training, requiring total commitment.
- Basic Ride : A 30-minute introduction to equipment, rhythms, and essential movements.